Difference between revisions of "Category-Add Category"
From Smartbilling
| Line 14: | Line 14: | ||
[[File:Category 1.png|900px]] | [[File:Category 1.png|900px]] | ||
| + | |||
| + | == == | ||
| + | <br> | ||
| + | |||
| + | [[File:Catalog Descriptions.mp4|none|center|600px|(Click to watch video) 👀]] | ||
<center><u>[[Catalog-Category|Previous]]</u> | <u>[[Category-Add Product|Next]]</u></center> | <center><u>[[Catalog-Category|Previous]]</u> | <u>[[Category-Add Product|Next]]</u></center> | ||
Latest revision as of 09:38, 16 December 2020
Home FAQ page SmartBilling 5.0
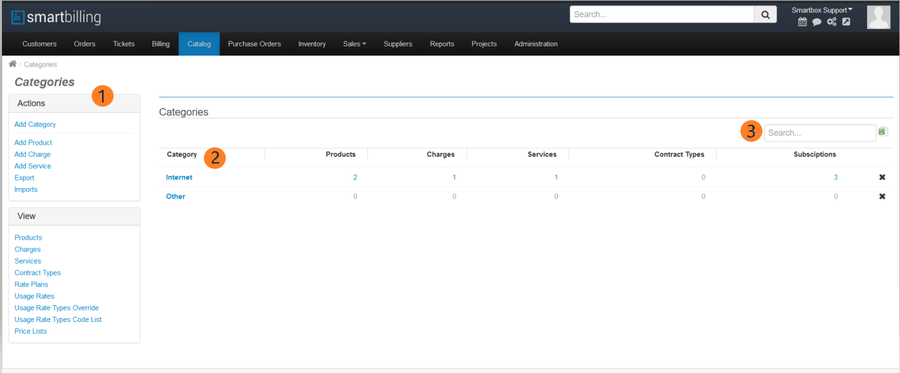
Procedure to follow when creating Categories:
- • On the Actions group box, Click on Add Category link
- • Enter the Category Name
- • Optionally, select values for
- • Position (a means to order Categories on the Invoice template)
- • Parent Category Name from the drop-down list.
- • Billing Translations (one field will appear for each supported language)
